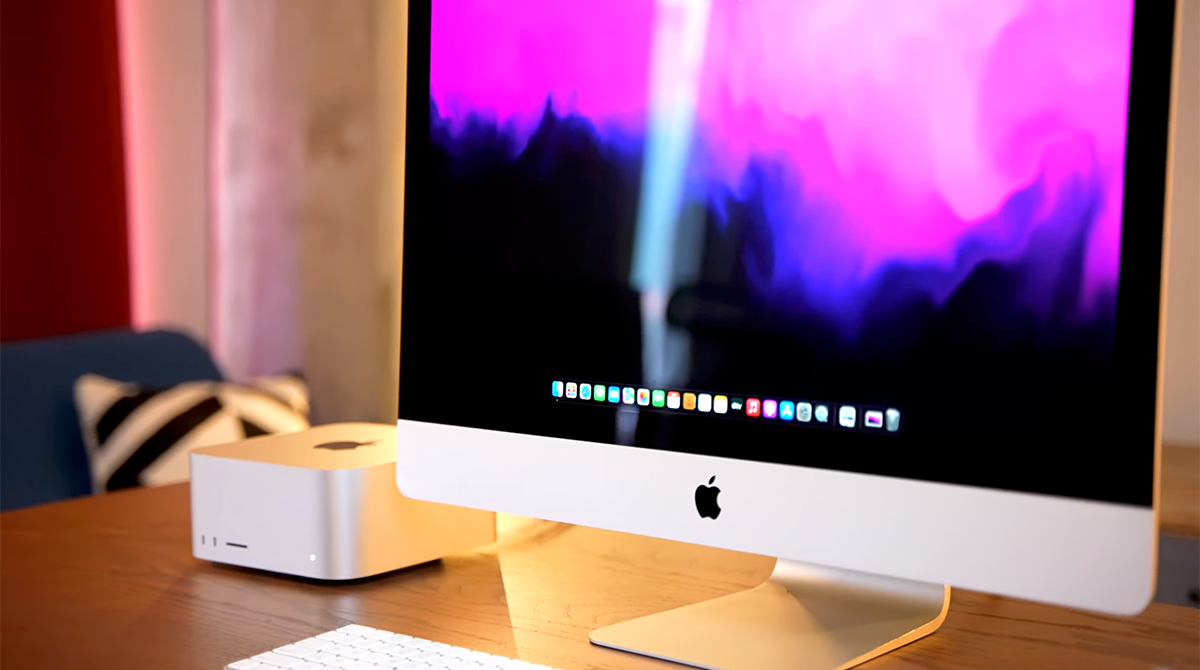
The construction even has a built-in webcam. All you need is an old 5K Apple iMac.
The Apple Studio display received a lot of criticism when it was released. It was cheaper than the ProDisplay XDR, but for at least €1750 the overall package was rather mixed – no HDR, no ProMotion etc.
YouTuber Luke Miani wasn’t convinced either. He then had an idea of how he could build a similar monitor himself and not have to do without the Apple logo on the back.
For this, you have to know that the actual display panel in the Studio Display is basically almost identical to the old panels of the 5K iMacs and they have been installed since 2014. Luke also says that for P3 color support you would need to buy a 2015 5K iMac. If you want a virtually identical display to the LG UltraFine 5K (and Apple Studio Display), you’ll need to buy a 2017 iMac.
Luke has chosen a 2015 5K Apple iMac. He also found one on eBay. He was actually looking for a version with a broken mainboard (Apple’s logic board is called) and a working display. But he ended up finding a fully functional iMac for just over $600. The equipment of the eight-year-old all-in-one is impressive. Intel Quad-Core i7 (4th Gen), 24GB RAM, and a Radeon R9 M295X GPU with 4GB VRAM. The model would even still pack the latest Catalina update from macOS. Unfortunately, the old Fusion Drive (HDD) disqualifies the iMac for everyday use.
Additional hardware is required for the Apple Studio display conversion of the 5K iMac
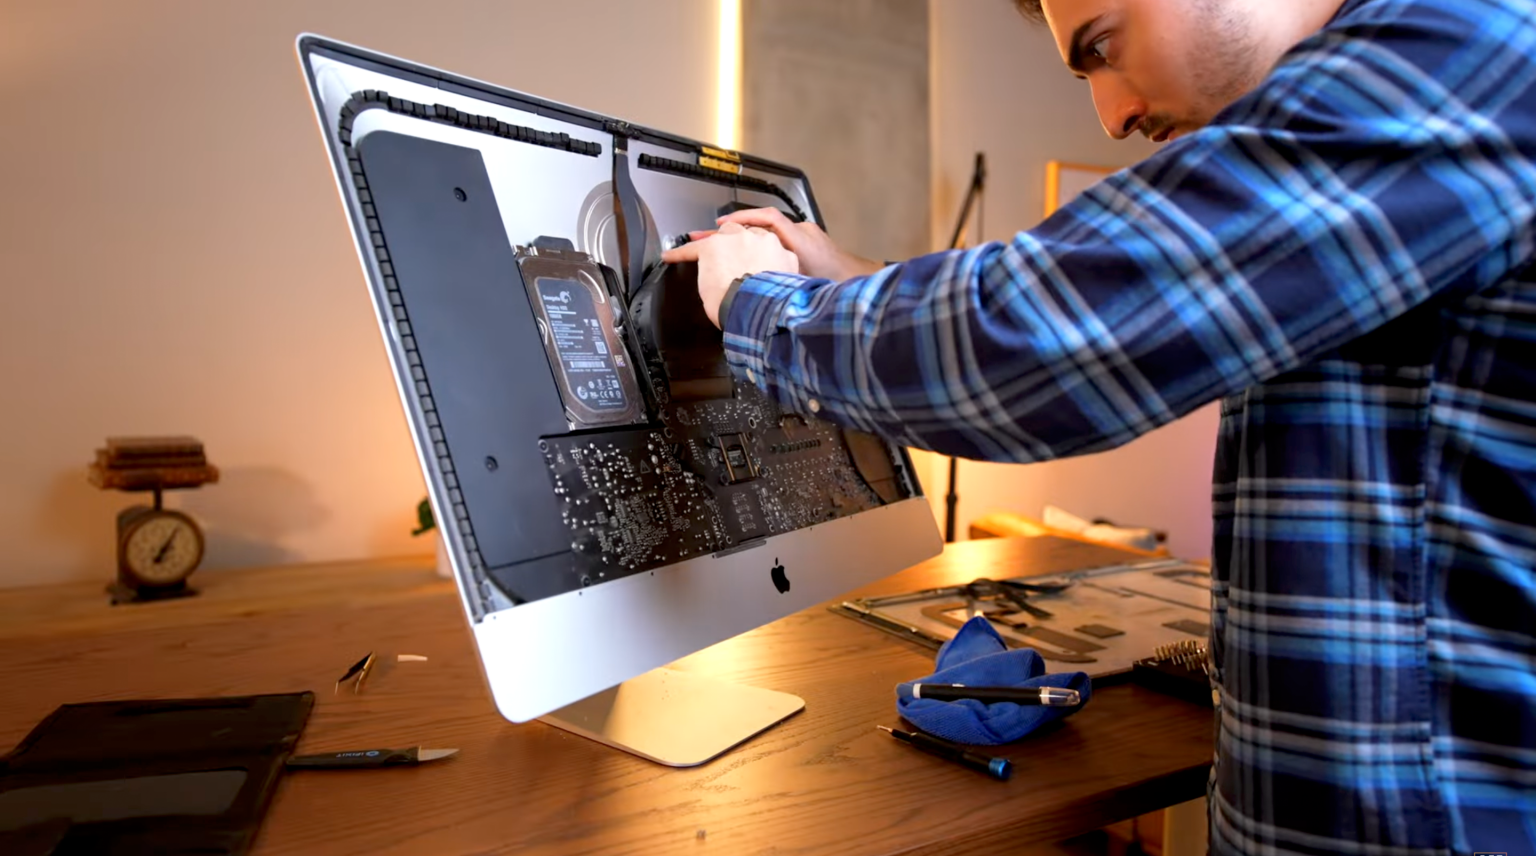
In the first step, Luke had to remove the display of the old Apple iMac and then remove all components from the inside. iFixit has written a very detailed guide for this. In the next step, Luke needs a board that works with his display panel. He found the exact name on the display panel itself and the rest was Google + “conversion board”.
Not every board can be used for the conversion. Especially not if the connection to the Apple iMac conversion is to be made with just one cable. In the end, Luke paid almost $180 for the right board and cable. Now all he had to do was put everything together and he would be done. However, he still had an idea – the camera.
The original camera in the iMac was not an option. In addition to the camera module, the unit also includes microphones, a status LED, and an ambient light sensor. Instead, Luke installed a small camera for a Raspberry Pi that fits perfectly into the Apple All-in-One’s recess.
Including iMac, cable, camera, board, and adhesive strips for the display, Luke ended up paying 871 dollars – the equivalent of just under 830€. The bill would be a little smaller if he’d bought a truly broken iMac with only the display working. Meanwhile, a new Apple Studio Display starts at €1749.
The display bezels of the iMac conversion may be gigantic by today’s standards and the built-in speakers can’t be used either, but conversions like this are what keep broken iMacs with intact displays from ending up on the scrap heap. You are happy to accept the poorer contrast ratio, the clear backlight bleeding, and poorer black values.
If you are also interested in the project, you should scour Facebook Marketplace or eBay classifieds. You might get a bargain. In Berlin-Neukölln, a 2015 5K Apple iMac is currently being offered for €500.


