
Are you tired of constantly getting SOS-only notifications on your iPhone? Don’t worry, we’ve got you covered! In this article, we will provide you with a step-by-step guide on how to deactivate SOS Only on your iPhone. So, let’s get started and put an end to those annoying notifications once and for all.
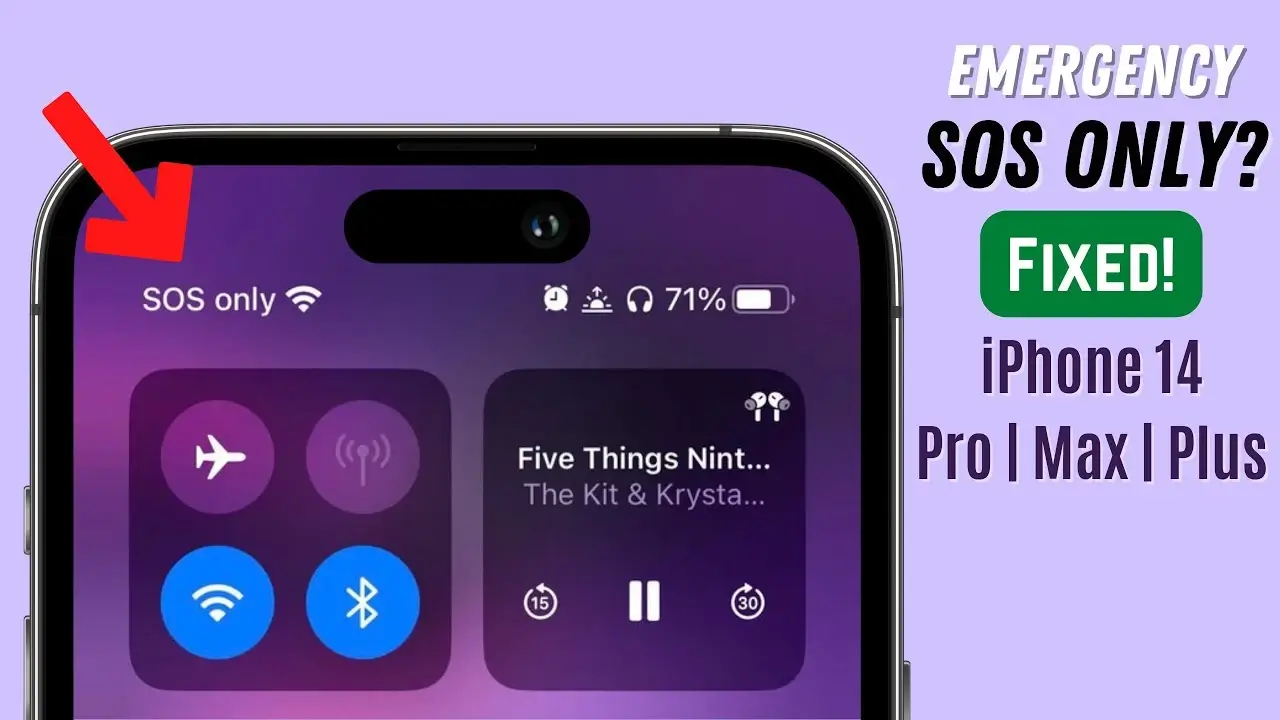
Before we dive into the process, let’s understand what SOS Only means on an iPhone. When your iPhone displays the SOS Only message, it means that your device is only able to connect to emergency services. This can be frustrating, especially if you’re in an area with poor network coverage or experiencing technical issues. However, there are a few simple solutions to fix this problem.
1. Check your Network Coverage:
The first thing you should do is check your network coverage. Poor signal strength or network issues can trigger the SOS Only mode on your iPhone. Make sure you are in an area with good network coverage, or try moving to a different location to see if the issue persists.
2. Disable Airplane Mode:
Sometimes, accidentally enabling Airplane Mode can cause your iPhone to display SOS Only. To disable Airplane Mode, go to the Control Center by swiping down from the top-right corner of your screen (on iPhone X or later) or swiping up from the bottom of the screen (on older iPhone models). Look for the Airplane Mode icon and tap it to turn it off. This should restore your regular network connectivity.
3. Restart your iPhone:
A simple restart can often resolve various software glitches or temporary network issues. Press and hold the power button until the “slide to power off” option appears. Slide the power icon to turn off your iPhone. After a few seconds, press and hold the power button again until the Apple logo appears, indicating that your device is restarting. Check if the SOS Only message disappears after the restart.
4. Check SIM Card:
Another possible cause of the SOS Only message is a loose or faulty SIM card. Ensure that your SIM card is properly inserted into your iPhone. You can do this by removing the SIM tray using a SIM ejector tool or a paperclip. Take out the SIM card, clean it gently, and reinsert it securely. Restart your iPhone and check if the SOS Only issue is resolved.
5. Update iOS:
Outdated software can sometimes cause network-related issues. Make sure your iPhone is running the latest version of iOS. To check for updates, go to Settings > General > Software Update. If an update is available, tap on “Download and Install” and follow the on-screen instructions. Updating your iOS may fix any bugs or glitches causing the SOS Only message.
6. Contact your Network Provider:
If none of the above steps resolve the SOS-only issue, it’s advisable to contact your network provider. They can check if there are any network problems in your area or provide further assistance to resolve the issue.
In conclusion, experiencing SOS Only on your iPhone can be frustrating, but there are several steps you can take to fix the problem. Start by checking your network coverage, disabling Airplane Mode, and restarting your device. If the issue persists, check your SIM card and update your iOS. If all else fails, reach out to your network provider for assistance. By following these steps, you should be able to deactivate SOS Only on your iPhone and regain regular network connectivity.